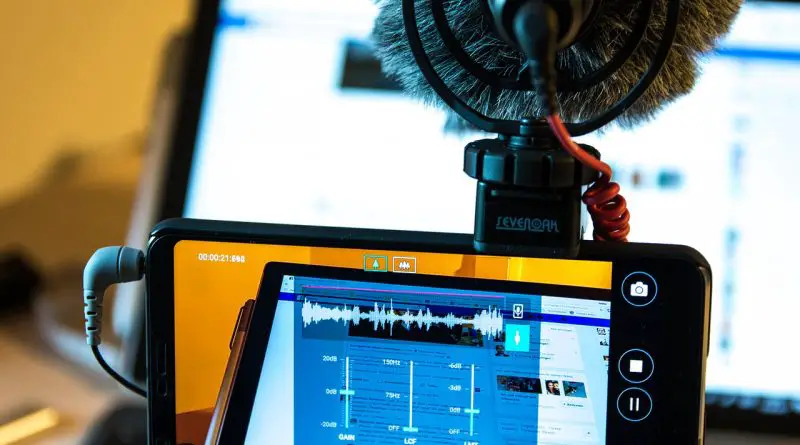
How To Record Screen In Windows 10 And Android Devices For Free ? (Free Screen Recorder For Android And Windows 10 !!)
Screen recording is undoubtedly one of the basic functionality that anyone can use to quickly demonstrate any video tutorial , software application, to showcase your gaming expertise etc . There are many free as well as paid screen recorders available for recording the screen in Chrome, Linux, and Ubuntu OS .
In this post we will explore the details regarding the steps required to easily record screen in Windows 10 And Android OS . So just sit back and read further .
In the first section we will look into the ways to record screen in Windows 10 PC using various free and paid tools available . Then in the next section of this post , we will further dig into the details for recording screen in your Android device .
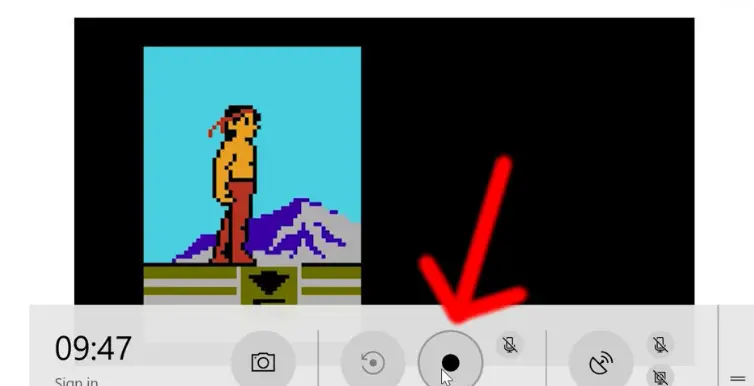
How To Record Screen In Windows 10 Without Any Video Recording Software ?
So if you are using a Windows OS device , you can easily record your screen without using any dedicated video recording tool . This can be done in several ways . Here we will look into the most popular ways to do so . Let us now understand the steps :
Screen Recording In Windows Using The Game Bar ( free screen recording with inbuilt tool ) !!
This method is the easiest way for capturing a screen record, but being a free tool it has its own limitations . So without wasting further time , follow the below steps to start the Windows screen recording :
1. Go to ‘All Settings‘ application in your Windows 10 OS .
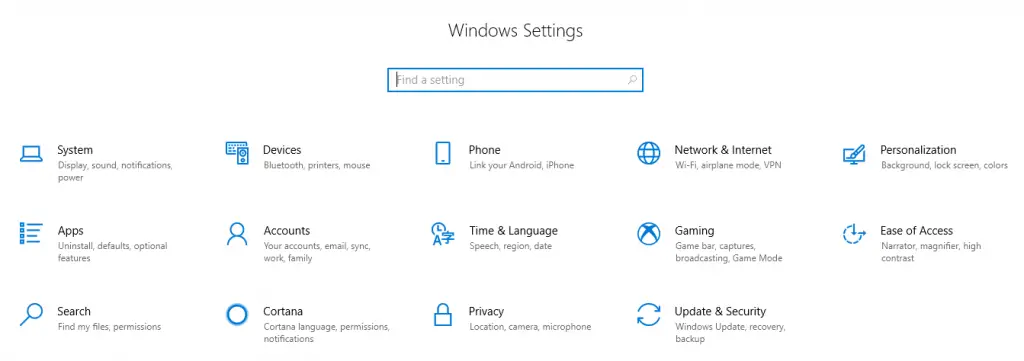
2. Now select the application named ‘Gaming‘ in the list of apps .
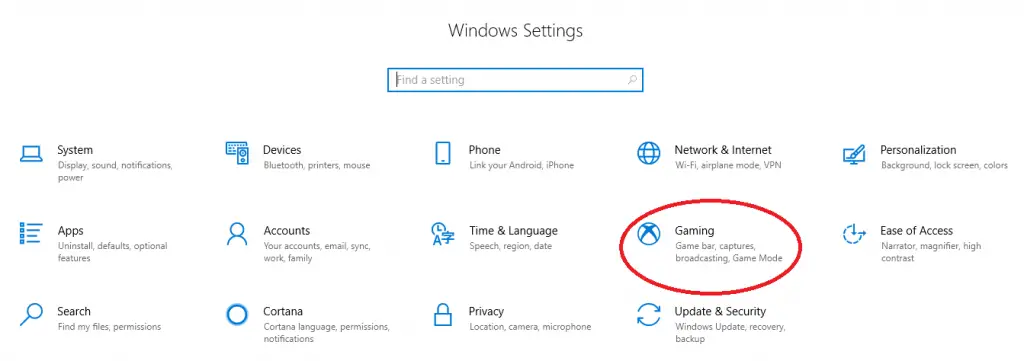
3. Now in the Game Bar screen, just check whether first option i.e. record game clips, screenshots, and broadcast using Game Bar . (if it is Off, then make it ON)
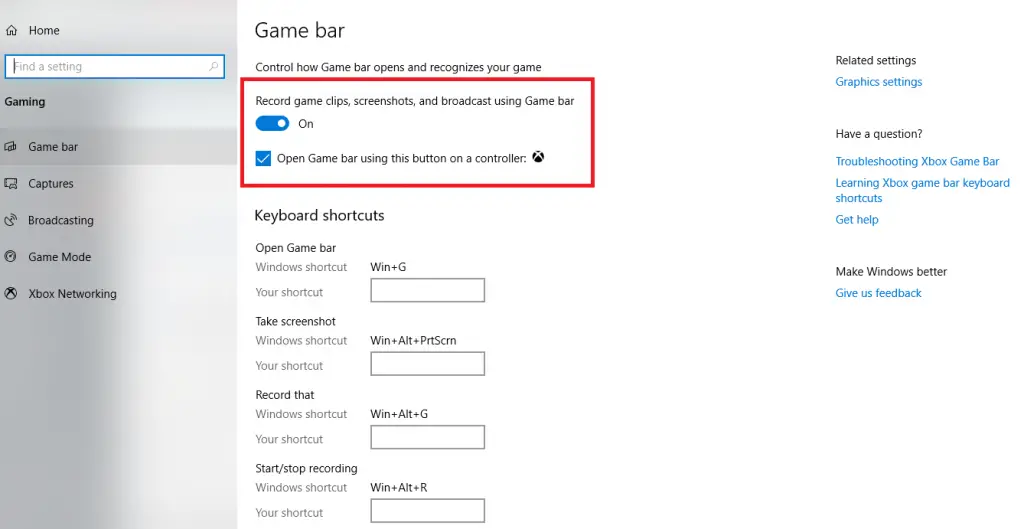
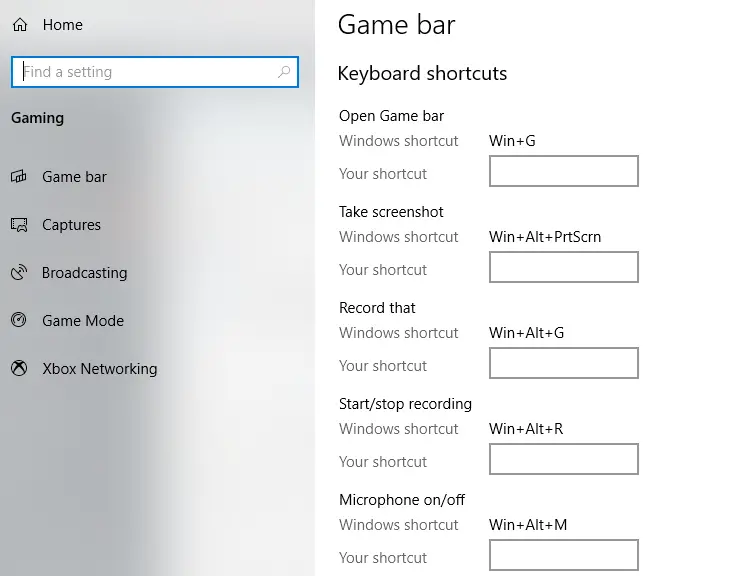
4. In the Game Bar screen , you can view various options (shortcuts) to set various shortcut key combinations in order to perform different tasks of capturing screens.
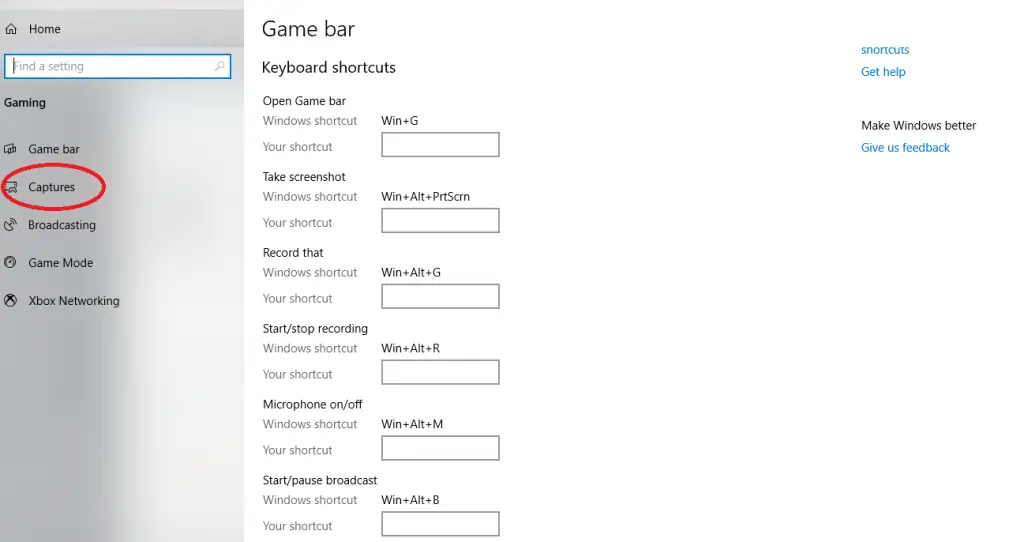
5. Since we are interested in capturing screen recording, just click on the next option i.e. ‘Captures‘
6. Now here you can see various options related to the screen recording that you will capture using Game Bar .
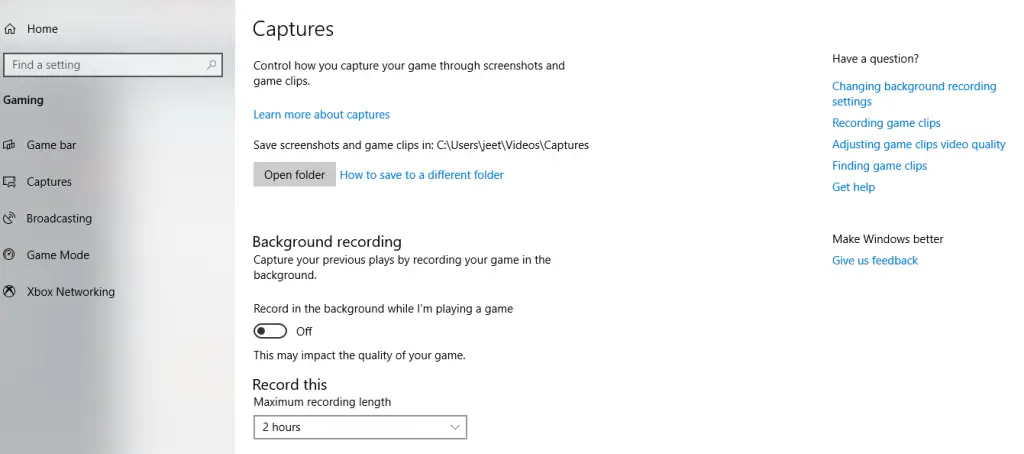
7. Set the location to save your screen captures and recordings (by default it is the capture folder)
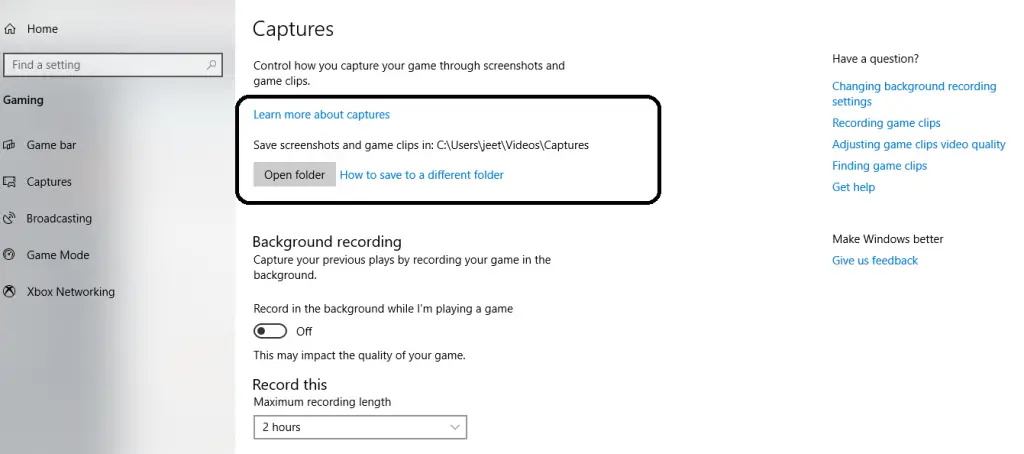
8. You may even customize your video recording quality by setting the frames rate and desired quality standard.
9. Also on the same screen you can set the audio settings using the inbuilt Mic or restrict the background noise.
10. Now open your desired application screen (software , game screen, or any video tutorial screen) , that you want to record .
Note : If you are already using the game bar , then you may directly hit the button combinations ‘Windows+G‘ to launch the game bar , also if you directly start recording screen , then you can press the buttons as ‘Windows+Alt+R‘
11. Now press the button combination ‘Windows + G‘ to launch the Game Bar .
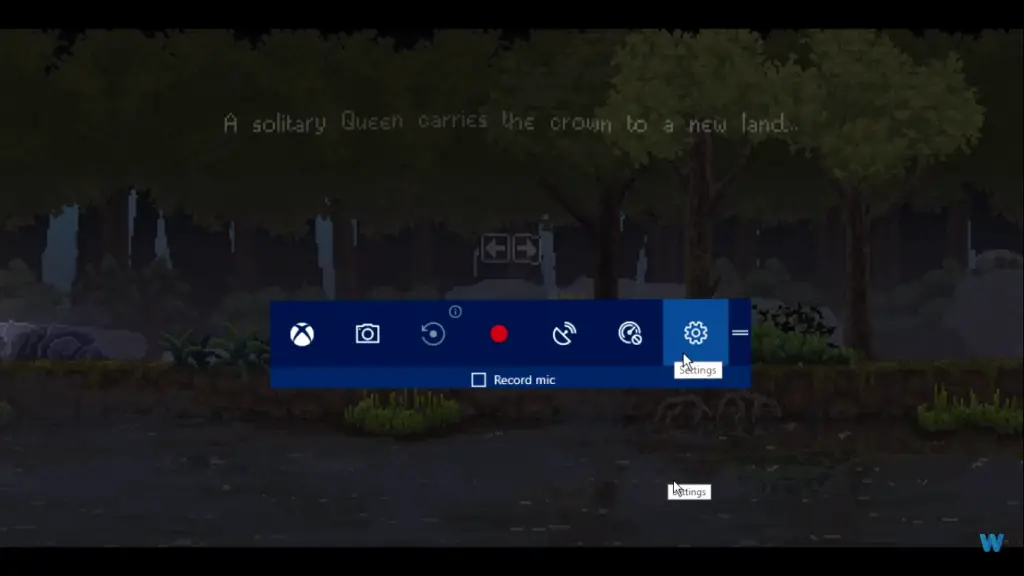
12. Now go to settings in the game bar , then click ‘Capturing‘
13. Now in the ‘Audio to record‘ section select the radio button for ‘All’
14. Now UnMute the microphone setting icon (if its already , then no need to change)
15. Now start recording by clicking on the ‘Start Recording‘ icon, (press Windows + Alt + R combination)
16. Now you can see a popup toolbar to stop/mute the recording. After you click on stop , the video clip will get saved in the location you set in step 7 above (by default it is the Capture folder)
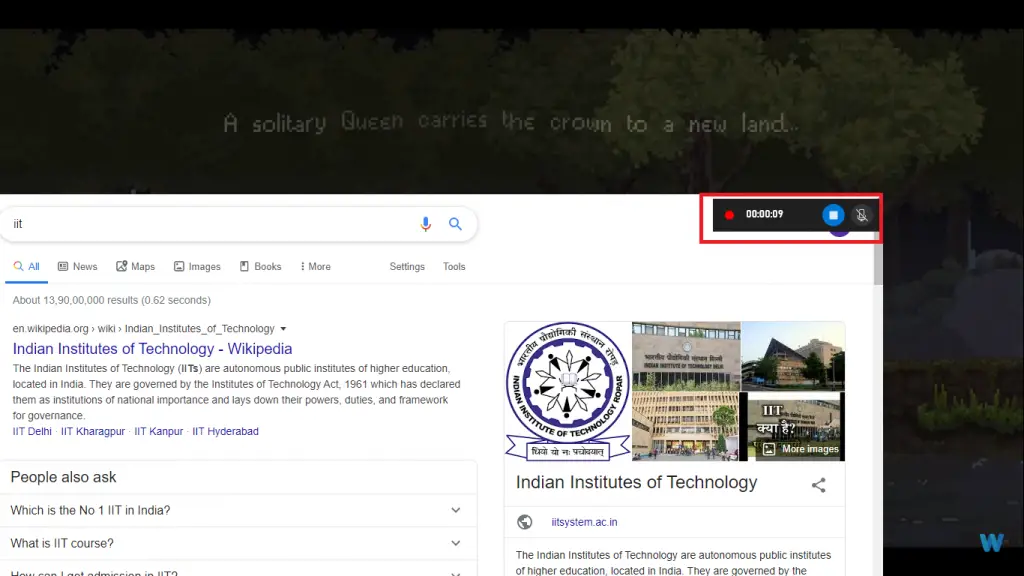
17. Then finally you can edit the video by trimming it or save it in any required video format .
Note : Recordings are automatically saved in MP4 format in the ‘Captures‘ folder of your system .
Limitations Of Using This Free Windows Screen Recorder Tool !!
This free tool is indeed very useful in capturing high-quality recording along with the audio in any Windows PC . But it has some drawbacks, they are as follows :
1. With this tool, you can only record screen of one window or application at a time . So this tool can only be used only when you want to record any software application , game screen or ant video tutorial .
Note : One application at a time means if you open any software and then if you open the notepad in the screen , it will not capture anything about the notepad , it will only record the software application window(the actions you are performing) .
2. With this tool , you can not able to record your desktop screen or the file explorer screen . So this tool is suitable only to capture a software , browser, or any game screen (always remember one application at a time). The moment you minimize the app screen , the recording will stop right away.
Don’t worry as there are many free and paid screen recorders available that you can use to capture your Windows screen .
Best Free Software Available For Windows 10 Screen Recording !!
There are many free screen recorders present to capture your Windows 10 screen . Here we will discuss the top three which are most popular in use :
1. Microsoft Expression Encoder – The Beast Of All Screen Recorders !!
Microsoft Expression Encoder is the official screen recorder software provided by Microsoft . Here the video captured will be first transferred to the encoder , where you can even edit the video as desired . Then the encoder will finally process it to video format .
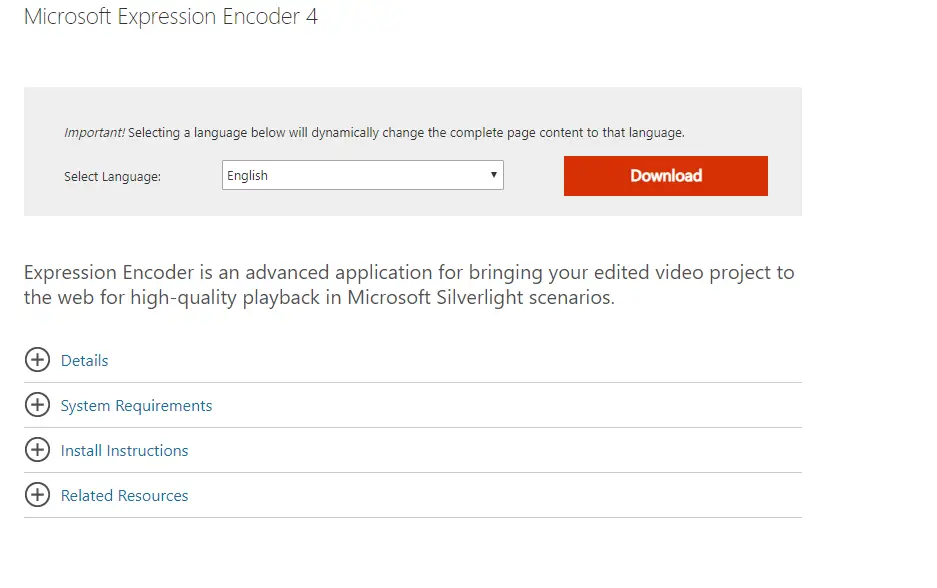
This tool is our top choice due to its simplicity and ease of use indeed. You can easily record high-quality video and can set the frame rate to 60 fps to get the enhanced results .
Also you can modify the audio settings and it has some limitations as well. You can only record video for a specific duration and it will also depend upon your system requirements .
2. Open Broadcaster Software – A Worthy Screen Recorder Indeed !!
Open Broadcaster software is undoubtedly the second choice to record our Windows screen . This software enables you to broadcast your recording live in social streaming sites like Youtube , Daily Motion , Twitch etc . Also, it supports high-speed Windows screen record feature .
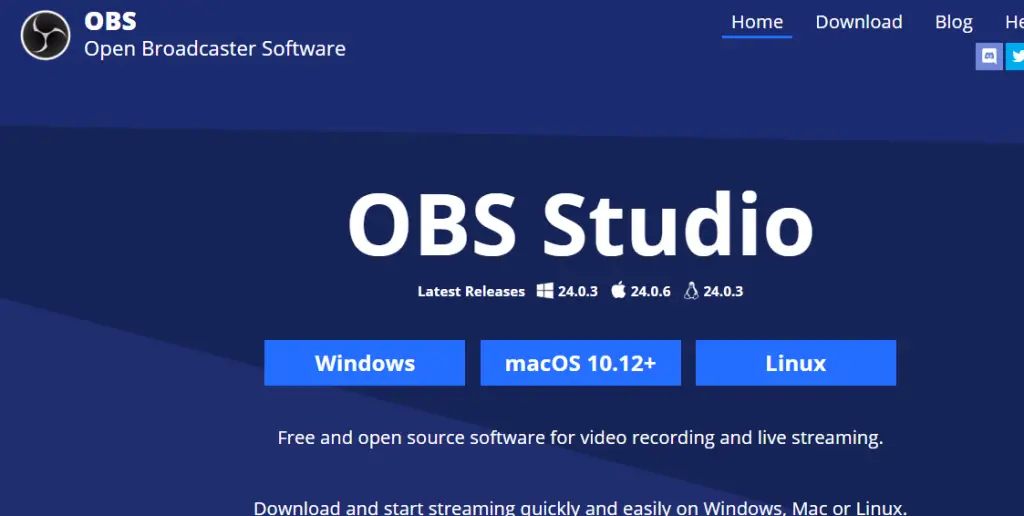
It further offers GPU based game capture for recording screens while playing games without affecting your gaming performance .
Here you need to learn the concept of sources and scenes . First, you create a scene and then has to add the sources like webcams , pictures etc .
This tool is indeed feature rich but initially, you may feel the interface as complex to use . However gradually you can gain the expertise of its variety of features .
OBS can also be used to record screen in your Linux OS devices along with the Chrome video recordings .
3. CamStudio Open Source Software Screen Recorder For Windows 10 !!
This is our last choice in the list of screen recorders for Windows . You can create almost all kind of video formats like MP4 , AVI , Flash etc . You can even highlight mouse pointers , you may select the region to record any specific region in the screen etc .
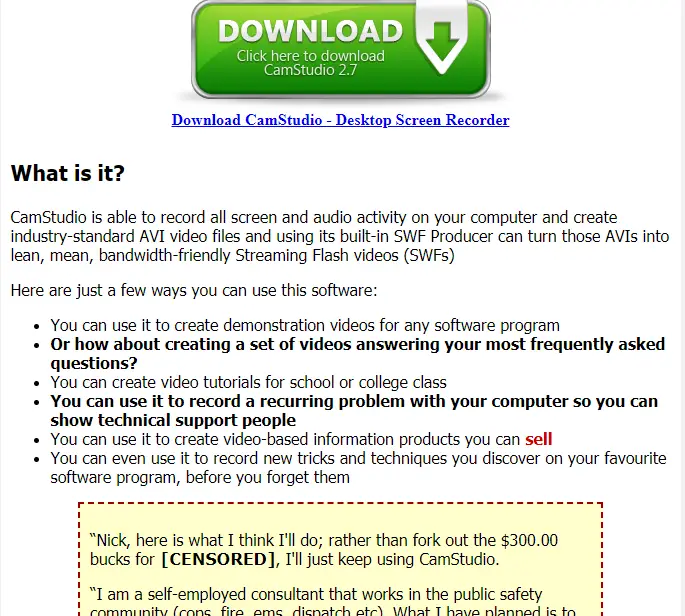
There are many customization options present to satisfy your needs of recording screens , further it supports the different codec you want to use . With this you can manage the video quality and size .
How To Screen record In Android Mobile ?
Android screen recording is nowadays an important feature , which can be used to screencast your Android screen as a video clip to your friends etc .
To capture the Android screens , you have to first install few apps which can help you to record the screen along with the quality audio .
Here we have listed the top 4 Android apps to capture the recorded screen of your Android device . So find the below list useful :
1. Mobizen Screen Recorder App
Mobizen is the first application on our list . You need to first install the app on your device .In the free version, you can see the ads visible in your device .
Also you can remove the watermark in the free version further . Here you can easily customize the audio and video settings , also there is a provision of using the webcam for recording the Android screen .
2. AZ Recorder App For Android
This is also a top-rated Android screen recorder app on our list . You can directly install the app without any root of your device . It is available for Android devices supporting Android 5.0 or newer versions .
You can quickly modify the settings to suit your video and audio requirements . You can even set the frames rate to get the improved results (60 fps being the top quality) .
3. DU Recorder – A Perfect Competitor !!
In DU Recorder you can get all the functionalities as mentioned above for the other two screen recorder apps . Additionally here you can even broadcast the recorded videos with the DU community members (this is great if you want to live broadcast the game you are playing) .
Also here you can even create GIF from the video already recorded . You may also create 5 sec GIF with this app in your Android device .
4. ADV Recorder – One Of The Best Android Screen Recorder App !!
ADV screen recorder is also very feature rich and a useful recorder indeed . Here further you can get the feature to annotate your recorded video easily .
For this you have to tap the recording menu while recording the screen , then it will show you the options to annotate the recording . Just tap on it and then draw whatever you want in your recording as desired .
With the help of ADV and DU screen recorders , you can easily generate funny and exciting annotated GIFs you want .
On Screen Recorders For Android And Windows PC – The Conclusion !!
With the advent of new technologies, recording your mobile or computer screen is indeed very easy and soon becoming an integral part of the software OS .
But then the free inbuilt tools are not as feature-rich as their paid counterparts . Furthermore, there are many free recording apps present (discussed above) that you can surely give a try to record the screen efficiently .
Hope this guide really help you in some way . Stay tuned for more interesting stuff in this series .

Aric is a tech enthusiast , who love to write about the tech related products and ‘How To’ blogs . IT Engineer by profession , right now working in the Automation field in a Software product company . The other hobbies includes singing , trekking and writing blogs .

