How To Screen Share On Skype – Easy Step By Step Guide
Skype is a popular and indeed useful communication platform in today’s world . With this Microsoft owned tool, you can seamlessly share message , audio , video ,files etc . Moreover, you can easily organize video conferencing and crucial meetings .
So consider a situation, you are facing some software installation issue in your PC , and you now want to share your PC screen with your expert friend for the solution .
No worries anymore , in this post you will get all the steps required for the screen share on Skype. So just sit back and read further for Skype screen sharing steps below.
Skype screen sharing is a great way to let others know your issues or in case of organizing team meetings and getting updates .
Thus Skype screen share is an inevitable Skype feature that you have to use most of the time . So if you want to let others know what exactly you are doing in your system screen , then just go ahead and share your Skype screen quickly .
How to screen share on Skype ?
So without wasting further time , let us understand the steps involved in sharing Skype screen right away. Follow the below steps :
1. Log in to the Skype application first by giving correct Microsoft credentials . (if you are not already logged in, then you may have to pass the verification process again)
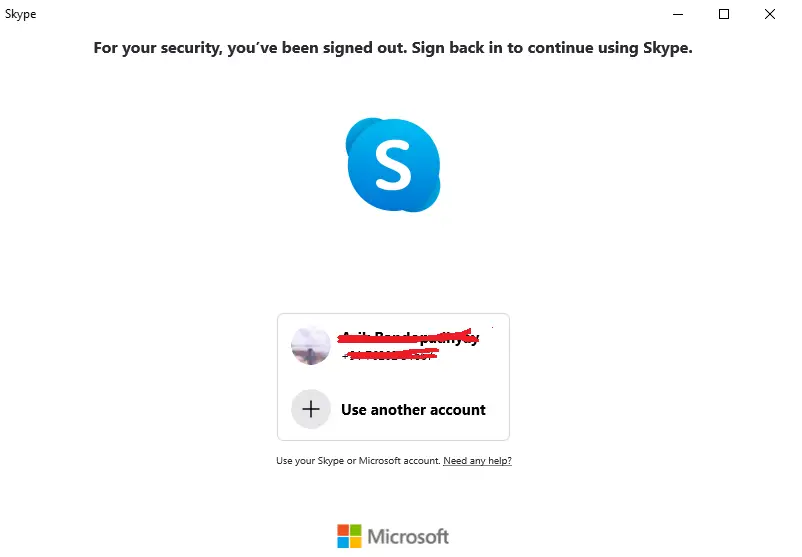
2. Now you may able to see all the existing contacts in your Skype account . Also, your name will be displayed on the right (displaying your profile pic and name) . Also on this screen, you can view all the recent chats and conversation history .

3. Now if you want to start a video call or send a chat message from your existing contact list , then just select the contact from the favorites or the recent chats section and then you may see the below screen :
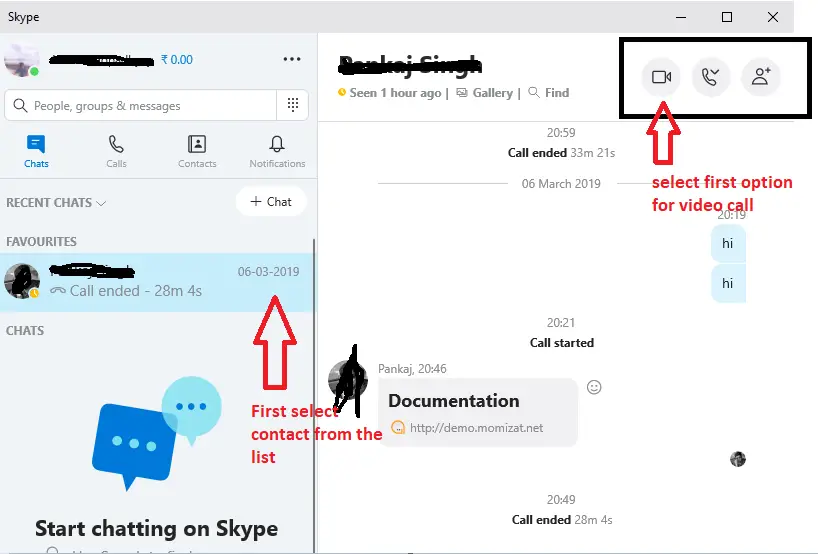
4. Now just start the conversation with your peer friend , for video call/audio call you have to select the video call option present at the top right corner as shown above (choose the first option for video calling) and you can able to start connecting with the other person :

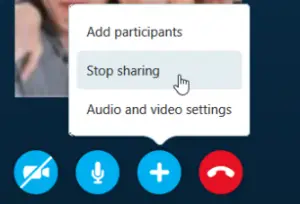
5. Now once you initiated video/voice call, the other party joins the call and call started , then you can view a ‘ + ‘ icon present at the bottom of your video calling screen.

6. Once you click on the “+” icon, you can then see the option for sharing the screen on your Skype application.

7. Now once you selected the option ” share screen ” , then it will show you the screen sharing window where you have to select the screen you want to present to others. It will show you all the open screens present on your desktop device .
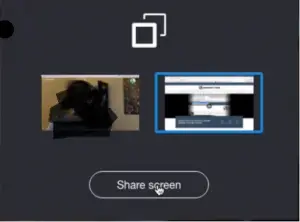
8. Now select the window screen you want to share , once selected you to need to press ” Start ” option to start sharing your desktop screen right away.
9. After starting the screen sharing , you can see a yellow rectangle covering your compete screen , this basically means that the screen sharing has been initiated and you can now view various screen sharing options on the screen .

10. So once screen sharing starts , it may take a few seconds to load the screen for another party . You can stop the sharing anytime by simply disconnecting the call or by again clicking on the ” + ” icon and selecting the ” Stop sharing ” option .
11. In the same way, the other connected person can able to start the screen sharing on Skype with you .
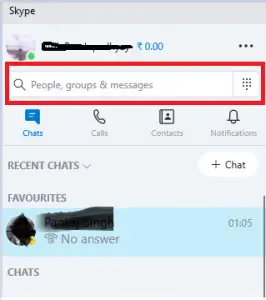
12. If you want to share screen with some new contact in your Skype account, then you have to search for the new person’s Skype id in the search box at the left side top a shown below and start the conversation (eventually a video chat session) .
Hope you really enjoyed this Skype screen sharing tutorial (step by step guide) . Let me know in the comments section , if anything else you want to know further. Stay tuned for more interesting stuff in this series .

Aric is a tech enthusiast , who love to write about the tech related products and ‘How To’ blogs . IT Engineer by profession , right now working in the Automation field in a Software product company . The other hobbies includes singing , trekking and writing blogs .

