Mac Screen Share Functionality ( iPhone Screen Share Using Facetime Screen share Application )
In this article, we will mainly look into the Mac/iPhone Screen Share functionality using the Facetime app. So if you want to share your Mac device screen with any other Mac OS user , this post will be helpful for you. Moreover, if you want to do iPhone screen sharing , then also you may read further and understand the steps given in this post .
Later in this post, we will understand the detailed usage of the Facetime Screen Share application provided by Apple . So just sit back and enjoy reading .
Additionally , we will also explore the ways that you may use to do any iPhone to Mac screen share quickly . Let us first understand why screen sharing in indeed an important functionality in today’s world .

Mac OS Screen Sharing Functionality – Is It Really Useful ?
Now consider a situation , while installing a software suddenly you are getting an error message . And you then desperately want a resolution .
So instead of calling your expert friend and explaining the complete thing verbally , it is always better to share your Mac device screen right away . In the nutshell, you can easily share your screen with anyone sitting miles away .
The above scenario is just an example and there are many other valuable benefits related to screen sharing . With screen sharing, you can additionally give control to other friends and may ask for their assistance instantly.
Instead of using the screen sharing feature, if you would like to do screen mirroring (casting your iPhone screen) then the below articles are for you :
Screen Mirroring Using iPhone/iPad To Mac !!
Screen Mirroring To Roku From iPhone/Macbook !!
Screen Mirroring To Samsung TV using iPhone !!
With this Mac screen sharing feature , you can easily share the content visible in your Mac OS-based device with any other Apple device (iPhone , iPad , Apple TV etc) .
This is really a very handy feature for troubleshooting or depicting any presentations etc . So now without wasting any further time , let us explore the steps required to do the same.
Mac Screen Share Functionality – All The Steps You Want !!
There is a built-in messaging application present in your Mac device i.e. the iMessage application . So you need not sign up for any other third party application (containing undesired ads) to share your Mac screen with .
Before you start a Mac screen sharing session with some other individual you have to keep in mind one thing :
1. The person , whom you want to give full control or want to share your screen with , must be a trustworthy individual . Since you are giving complete control to him/her for your device , keep the confidential documents password protected .
So if you want to share Mac screen or want to show something in your friend’s Mac device , you can do so easily by following the below steps :
1. Every Mac comes with Messages pre-installed, and it uses your existing Apple ID as a point of contact . Once you’ve signed in and added a person to your contacts list (provided both signed into the iCloud with valid Apple id), you can share your screen .
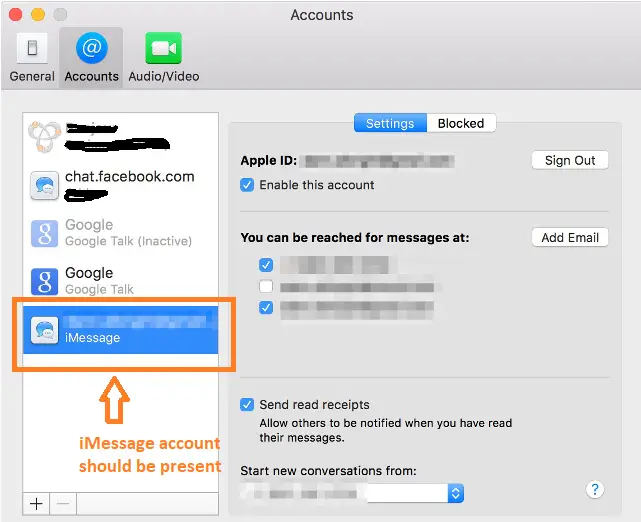
2. As seen above , the iMessage account should be present in the accounts section of your Mac device .
So if the person you’d like to share a screen with has an iPhone, iPad, or Mac, and is signed in to iCloud with the same Apple ID they use to sign in to Messages , then you are good to proceed further .
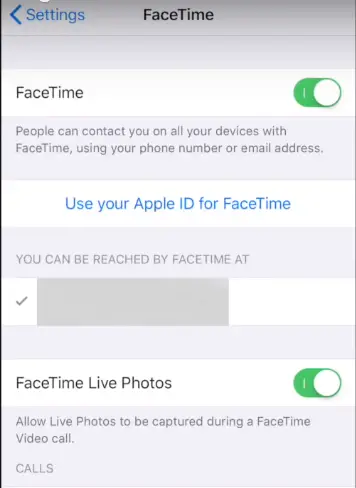
3. Now once you logged in your Apple device , you can now see the iMessages app present in your Mac device .
Then open the application and search for the contact you want to start a screen sharing session with. (if the contact not present in the list , then you have to add it as new contact first)

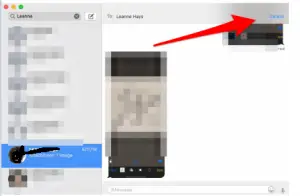
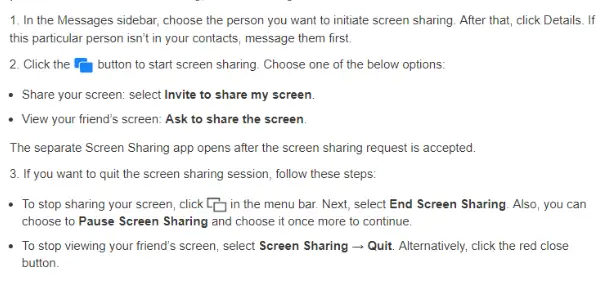
4. Now once you locate the contact in the list , double click the contact to start a conversation . Now click on the details option present in the top right corner .
5. Then click on the screen sharing option with a symbol of the message (shown below)
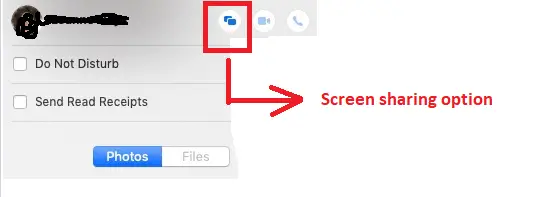
6. Now you can see the options to Invite to Share My Screen (you will share) or Ask Share Screen (your friend will share) .

7. So once you have selected any one option, a notification will go directly to your friend . You need to accept your friend’s screen sharing request or your friend accept yours (as applicable) .
Once the request accepted, then finally a screen sharing window will start and an audio call will automatically gets started between the two parties . (If the other person has Do Not Disturb on, they won’t see the alert)
8. The Mac that is being watched gets an additional Screen Sharing menu bar icon, which enables access to Screen Sharing, Mute Audio, Pause, and End Screen Sharing options.
How To Take Control Of Other Mac Screen During An Active Mac Screen Share Session ?
During the screen sharing session , you may ask for full control of other participants and vice versa . Thus Mac allows Screen controls with permissions .
For this , the other person needs to click the Screen Sharing icon (click ![]() in the menu bar) and choose ” Allow [person] to control my screen ” . Then the person needs to accept one notification .
in the menu bar) and choose ” Allow [person] to control my screen ” . Then the person needs to accept one notification .
Thus you can now have full control of the other person’s Mac device . Now if you want to add someone else also in the call , just follow the above steps (step 4 to 8 ) and start a screen sharing session right away. (again select contact, click on screen sharing option , then you can see a checkmark for the contacts you selected )
How to End Mac screen sharing session ?
In the screen-sharing app , click on the screen-sharing icon (click ![]() in the menu bar) and select ‘End Screen Sharing’ (there is also an option for pausing a screen sharing session and then again resume) .
in the menu bar) and select ‘End Screen Sharing’ (there is also an option for pausing a screen sharing session and then again resume) .
Also choose Screen Sharing > Quit Screen Sharing to close the app. The other person can click Screen Sharing in the menu bar and choose End Screen Sharing.
How To Copy Files From One Mac To Another Mac While Screen Sharing ?
Copying files is the easiest job while running a screen sharing session with another user . You need to just drag and drop the files from your Mac device into the shared screen of the other Mac device .
So you just need to drag the desired document from the finder to the screen sharing window and even inside some folder .
Facetime Screen Share (Mac To iPhone / iPad) – All The Steps !! [How To Use Facetime ?]
Facetime provides an inbuilt Mac OS screen sharing option . With Facetime, you can easily initiate voice and video calls with other mac users right away .
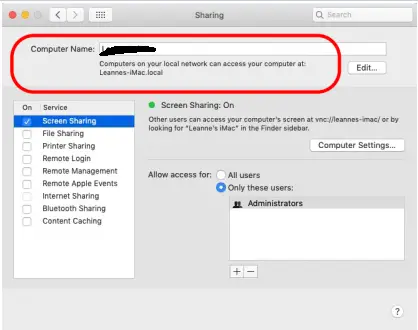
However, to make sure that you access the other person’s screen or vice versa, you need to turn on the Screen Sharing option. To do so, go to System Preferences and then go to ‘Sharing’ and click on the checkbox .
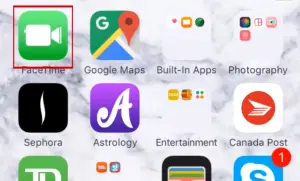
Also if the other user is using different iCloud and message Apple ID , then both the ID’s should be present in the contact card of your Mac respectively .
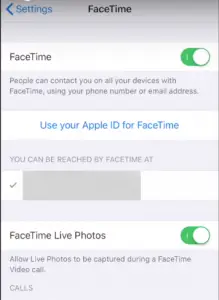
With Facetime , you have to first start a Facetime call and have the recipient point their iPhone or iPad at the screen you need to view.
However you can not control their computer using this method, but you can troubleshoot and provide the solutions etc .
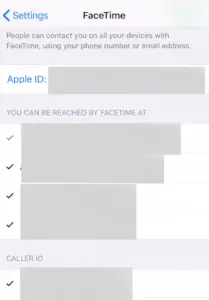
You can start a Facetime Audio/Video call in two ways :
1. Open the Facetime application, then search the contact by name, email, or contact number in the search bar. Then start a video/audio call quickly OR
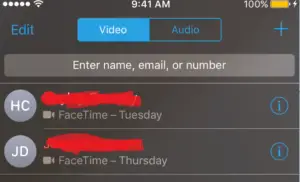
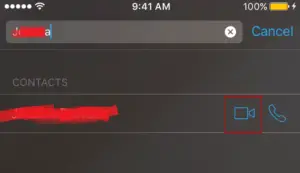
2. Go directly to your contacts list and search for the person, then in the contact details page, you can see the ‘ Facetime ‘ icon present, click on it and start a Facetime video/audio call right away.

Once the call connected , you can view three options i.e. first the front/back camera options , End call option , and lastly the mute option .
So now once you configured your Facetime application , its time to start the screen sharing session quickly .

For simplicity, just check out this useful screen sharing tool, that allows you to share the screen instantly without any delay. If it works, then awesome. If not, then proceed further.
Follow the below steps for Facetime screen sharing :
1. For initiating a Facetime screen sharing session , you must first install a screen sharing plugin called ScreenTime .
This will act as the virtual webcam in your Mac device . If you wish then you can share screen time with your desktop via Facetime. In such a case it is not necessary that your friend has Facetime .
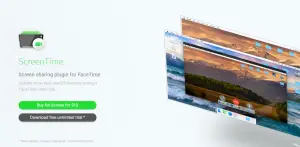
2. ScreenTime option will be present below the Facetime HD camera option at the top . ScreenTime will let you monitor various display activities on the screen .
With this, your friend can able to see the desktop and pictures on your desktop at the same time .
Note : Facetime screen share functionality is really very useful when any Apple TV being included in one of the shared devices during screen sharing .
Mac / iPhone Screen Share Advanced Technique !!
So if you want to be able to not only see the screen on someone else’s Mac, but also open apps, move, open, and close windows and files, and even restart their Mac, they’ll need to turn on Screen Sharing.
If you really want someone else to be able to see and control your Mac’s screen, or even to be able to remotely view and control it yourself, you’ll need to turn Screen Sharing on for your Mac .
1. Go to System Preferences and click on sharing .
2. Select the screen sharing option on the left side and uncheck any other option (if already selected) .
3. Now in the right select the option of your choice (all users or specific users) .
4. If you select Only These Users, you’ll be able to add and subtract members to your sharing group by clicking the plus or minus under the Allow access option .
You can view all the users available in the specific group or network. (You can connect using either the name or the IP address) .
Still, confused ? You may check this awesome screen sharing tool that can instantly allow you to share any Apple device screen securely and seamlessly with anyone else in few seconds indeed.
iPhone To Mac Screen Share – Easily In 2 Minutes !!
So now we are interested in doing the iPhone to Mac screen share right away . The below method is applicable for not only this but also for any Mac to iPhone or iPhone to iPhone screen sharing .
For this, you need to install a specific screen sharing application in your Mac OS device . The best is indeed the TeamViewer application .
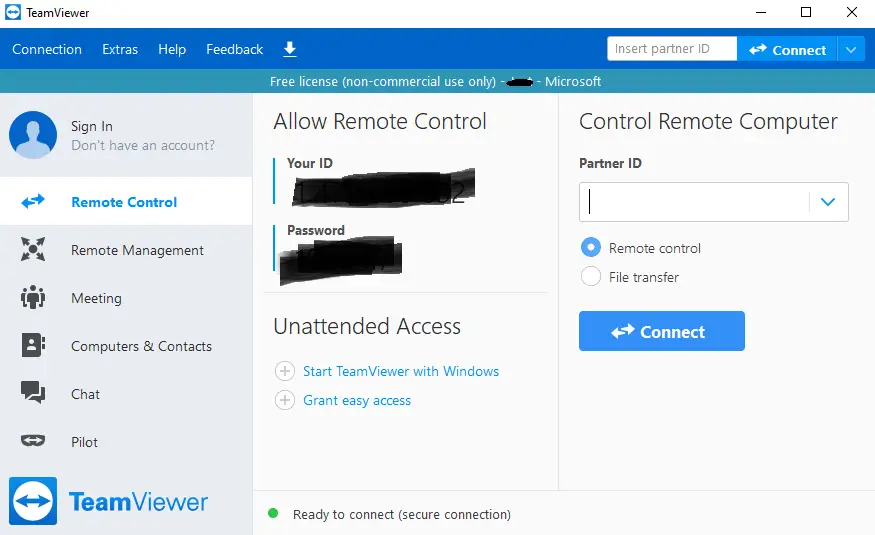
This is basically a remote desktop sharing application, but there is also an option present for presentation purpose . So you can easily do the iPhone to Mac screen share .
Apart from this, you may also try for other popular screen-sharing options like the renowned Microsoft owned communication tool named Skype .

You may further try the below two applications to share the content from iPhone to Mac device . For this, we will look into the two applications .
1. Reflector – With this application, you can easily mirror your iOS device screen in a Mac device . This doesn’t require any wired connection . Both the device should be in the same wifi network .
You may also experience some bit of lag. You first need to download the application and then launch it from the applications folder in your device . (Also check out for ‘AirServer‘ which can serve you the same purpose)
2. Quicktime – This is a wired mirroring application , since it is wired so less lagging issues . So you need to just connect both the iOS and Mac devices together via USB cable and start sharing the screen right away .
If you really want to know the steps to share your screen by using the above methods do check out the below link
Screen Mirror From iPhone/iPad To Mac OS Device Using QuickTime And Reflector !!
Mac To Windows Screen share – Additional methods !!
So you still can not able to share your screen with any non Mac OS user and reached this further . That is the other user in using a Windows OS or using an android based device , then the above methods will not at all work.
The easiest method to do the Mac to Windows screen share (or to an android device) is to use the widely popular Communication applications .
In this case, you may try Skype application , GoToMeeting , Google Hangouts etc easily. The tutorials for the same is already present in our previous posts in detail .
You may find the below articles useful :
Google Hangouts Screen Sharing – Complete Guide !!
Skype Screen Sharing – Detailed Guide !!
Discord Screen Sharing – Step by step guide !!
Slack Screen Sharing – Everything You Want !!
Mac Screen Share Functionality – Final Thoughts !!
Sharing screen with your Mac device is indeed simple and very useful . Apple is further very punctual in providing regular updates for its inherent message application.
So with Apple’s trust, you may relax and enjoy the advanced and innovative tech being incorporated in any Apple’s device in the form of regular updates to its OS X versions .
Hope you really enjoyed this long yet informative post . Stay tuned for more interesting stuff in this series . If you know any other ways of sharing your Mac device screen, do let us know in the comments section . See you in my next post .

Aric is a tech enthusiast , who love to write about the tech related products and ‘How To’ blogs . IT Engineer by profession , right now working in the Automation field in a Software product company . The other hobbies includes singing , trekking and writing blogs .




Thanks for the great article!
Screen Sharing is an extremely useful feature if your customers or clients regularly ask for help with OS X or vice versa. With Screen Sharing you can help someone get to grips with OS X’s features, or get help yourself from a technical support agent. All you need is the Messages app and their Apple ID.